
Project Navigation Header/Footer
|
Open source projects typically require links to a number of resources:
Rather than each project displaying these in a custom way the Project Navigation Header/Footer paragraph displays them in a standard layout at the top or bottom of the page. You simply need to configure the paragraph with the relevant URLs. In addition to this an Overview link on the left of the header displays navigation links to subpages allowing users to easily find their way around the site. These links are automatically updated when you add, remove, or rename pages so you don't have to maintain them yourself. A search box is also provided in the header version that allows users to search for information in the project pages. By default this paragraph is inherited by subpages so that users can always find what they need. This also means that changes to URLs only need to be made in the paragraph configuration in order to update the links on all pages. If you have both a project navigation header and project navigation footer then these are two separate paragraphs so you'll need to keep their configurations in sync manually.
|

Overview tab
|
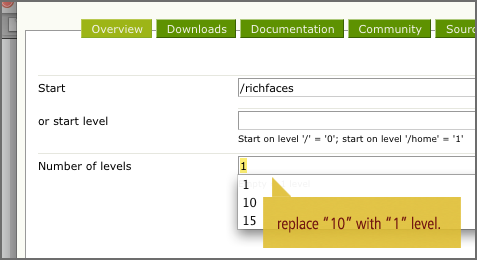
This tab lets you configure how the automatic navigation links are created. First of all you need to enter the page where navigation will start from. This is the page that will be displayed when users click on the 'Overview' link in the header. The easiest way to do this is to click on the 'Internal link...' button and select a page from the pop-up window. Alternatively you can enter a starting level which corresponds to how far down the website tree hierarchy you want to start, although this probably isn't useful for project navigation. Then you need to enter the number of levels of subpages you wish to display in the navigation drop-down. Each level causes the drop-down menu to expand one more place to the right so you may want to keep this to a low number if you have many levels of subpages. |

|
Selecting the starting page: |

Downloads tab
|
This tab is used to configure the link to your project downloads page. Simply click on the 'Internal link...' button to select the page from the pop-up window. If your downloads page has a number of subpages, perhaps displaying different types of downloads, then you can also enter the number of levels of subpages you wish the drop-down menu to display. |

Documentation tab
|
Here you can configure the link to your documentation page. Again, if you wish to display links to subpages of the documentation page then you can enter the number of levels to show in the drop-down menu. |

Community tab
|
The Community tab allows you to configure a link to a 'community' page that explains how users can join the project and collaborate. It also allows you to configure links to specific resources such as wiki, forums, and mailing lists by entering absolute URLs. If you have links to multiple resources such as mailing lists then you can display these in a project page and link to this using the 'Internal link...' button.
|

Source Code tab
|
Here you can configure a link to a page that explains how to obtain the source code for a project. You can also configure links to specific resources using absolute URLs. |

Build tab
|
Here you can configure a link to a page that explains how to build your project. If this page has subpages then you can enter the number of levels to display in the drop-down menu. If applicable you can also configure a link to your Hudson page using an absolute URL. |
Issue Tracker tab
|
Here you can configure a link to a page that explains how to create and work on issues for your project. If this page has subpages then you can enter the number of levels to display in the drop-down menu. If applicable you can also configure a link to your JIRA project page using an absolute URL. |

Properties tab
|
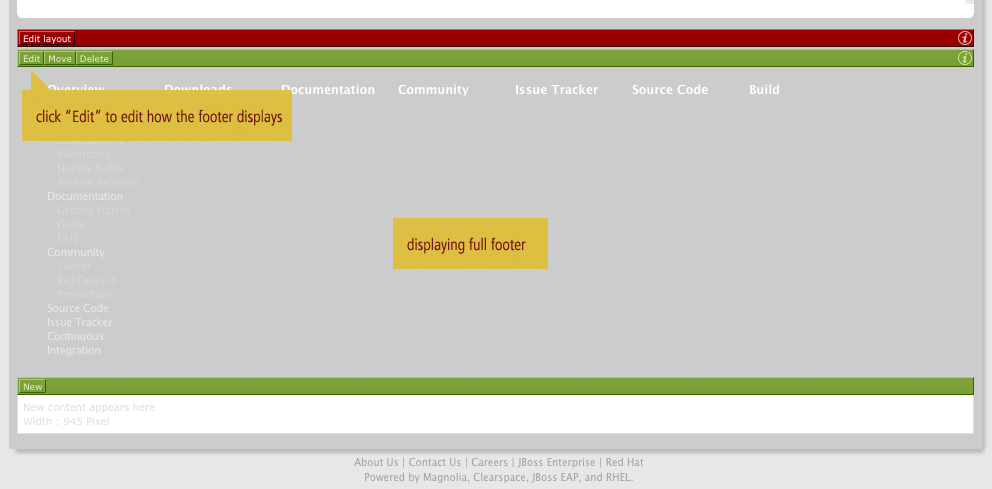
Here you can select whether you want the Project Navigation Header to be inherited on all subpages. The box is selected by default as this is normally what you want to happen. The 'Navigation type' dropdown should have the 'Header navigation' option selected. This causes the navigation bar to appear in a collapsed form with drop-down menus appearing as you hover over the various links. The other option 'Footer navigation' is used when you want to display an expanded form of the navigation bar as a sitemap in the footer of the page. |
|
If you choose 'Footer navigation' as the Navigation type then be aware that you may want to reduce the number of levels of subpages displayed under the Overview link. This will ensure that the footer sitemap doesn't look too cluttered. |
